
Using Gitlab's Free Docker Registry
The Problem
Are you using Docker in any of your projects? If so, you must have encountered the need to store and share images. The default Docker Registry limits the number of private images you can have. This means that if you have multiple projects, you have to make these images public, which compromises the privacy of your projects.
Normally, some people choose to pay for Docker to get more private images. Others prefer to set up their own registry to store internal images. Docker provides an open-source solution for creating your registry. For more details, see the Docker Registry.
If you are an individual user and can't afford a paid service or don't have resources to set up your own registry, then this article is for you. Gitlab currently offers a completely free registry, all you need is a Gitlab account.
Usage
Gitlab's registry is tied to a repository. This means that to use it, you need to create repositories first. Images will be associated with repositories, and you can store them by pushing Docker images with the same name as the repository to Gitlab.
To use Gitlab's registry, follow these steps:
Step 1: Generate an Access Token by going to Profile > Preferences > Access Tokens. Enter a name for the token and make sure to select the "read & write registry" permission.
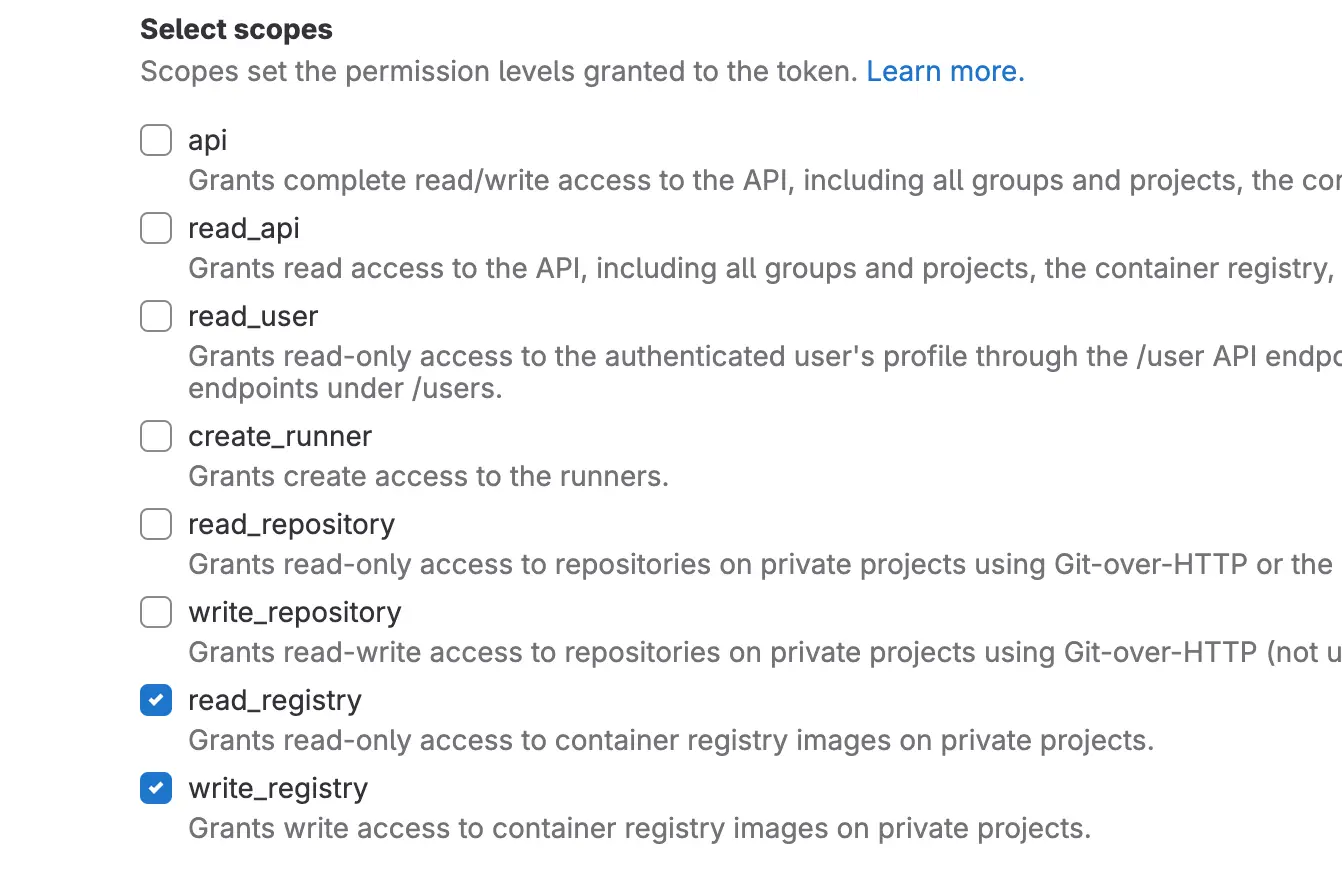
After successfully generating the token, save it somewhere safe for future use.
Step 2: Log in to Gitlab's registry by running the following command:
$ docker login registry.gitlab.com
Enter your Gitlab username as the username and the Access Token generated in Step 1 as the password.
Step 3: Create a repository on Gitlab. For example, let's create a repository named "system".
Step 4: Build an image and make sure to name it the same as the Gitlab repository you created. For example:
$ docker build -t gitlab.com/hoaitx/system:latest .
Step 5: Push the image as usual:
$ docker push gitlab.com/hoaitx/system:latest
Step 6: To check if the image has been uploaded to the registry, go to the repository you created, then navigate to Deploy > Container Registry. You will see all the images along with their tags.
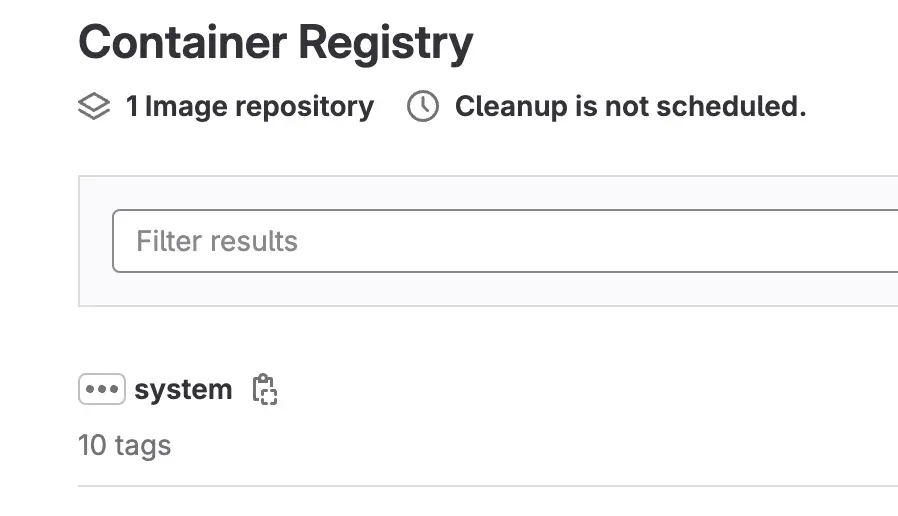
This registry can be used for pulling and pushing images just like any other registry. However, it is a private registry, so you need to log in to perform any operations.
Limits
One concern when using free services is the limitations that come with them. It's strange that there isn't any specific documentation regarding the storage limit for images in Gitlab's registry. A search in the community led to the conclusion that there are no storage limits! You can refer to the Gitlab forum for more information.

Me & the desire to "play with words"
Have you tried writing? And then failed or not satisfied? At 2coffee.dev we have had a hard time with writing. Don't be discouraged, because now we have a way to help you. Click to become a member now!

Subscribe to receive new article notifications

Comments (0)